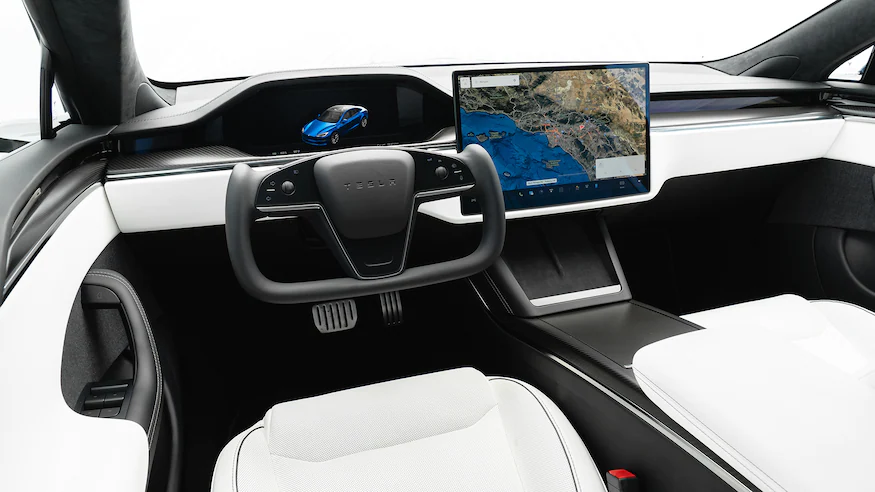
Hey Tesla enthusiasts! As much as we adore the sleek exteriors of our electric vehicles, let’s not forget the importance of a clean and well-maintained interior. Our Teslas are more than just cars; they’re a statement of our commitment to a greener and more advanced future. So, why not make sure our interiors are just as spotless and impressive? In this guide, we’ll share expert tips and step-by-step instructions for detailing your Tesla’s interior to keep it looking and feeling new. Let’s dive in!
Preparation:
Before you begin, gather all the necessary tools and supplies for detailing your Tesla’s interior. These may include:
- Vacuum cleaner with attachments
- Microfiber towels
- Soft-bristle brushes
- All-purpose interior cleaner
- Glass cleaner
- Leather cleaner and conditioner (for models with leather upholstery)
- Carpet and upholstery cleaner
Once you have your supplies ready, remove any trash or personal items from the interior. This will make the detailing process smoother and more efficient.
Step 1: Vacuum the Interior
Begin by vacuuming the entire interior to remove loose dirt, debris, and dust. Use a vacuum cleaner with attachments to reach tight spaces, such as between the seats, under the seats, and in the door pockets. Don’t forget to vacuum the floor mats and trunk area as well.
Step 2: Clean the Dashboard and Center Console
Spray a small amount of all-purpose interior cleaner onto a clean microfiber towel and gently wipe down the dashboard, center console, and instrument panel. Be sure to clean around buttons, vents, and other hard-to-reach areas. Use a soft-bristle brush to remove stubborn dirt or dust from crevices.
For touchscreens, use a dedicated screen cleaner or a slightly damp microfiber cloth to clean the surface. Avoid using harsh chemicals or excessive pressure on the screen to prevent damage.
Step 3: Clean the Door Panels and Pockets
Using the same all-purpose cleaner, wipe down the door panels, handles, and storage pockets. Be sure to clean the area around the window switches and door handles, as these spots can collect dirt and grime. Again, use a soft-bristle brush to clean tight spaces and crevices.
Step 4: Clean the Seats
For fabric seats, spray a carpet and upholstery cleaner onto a microfiber towel and gently scrub the seat surfaces. Be sure to remove any stains or spills. Use a damp microfiber cloth to remove any excess cleaner and allow the seats to air dry.
For vegan leather seats, use a dedicated leather cleaner and a microfiber cloth to clean the surface. Be sure to follow the manufacturer’s instructions for proper use. After cleaning, apply a leather conditioner to protect and maintain the vegan leather’s appearance and feel.
Step 5: Clean the Carpets and Floor Mats
To clean the carpets, first remove the floor mats. Spray carpet and upholstery cleaner onto the carpeted areas and use a brush to gently agitate the fibers. This will help to lift dirt and stains from the carpet. Use a damp microfiber cloth to remove any excess cleaner, and allow the carpets to air dry.
For the floor mats, follow the same process as with the carpets. If your Tesla has rubber or all-weather floor mats, you can also hose them down with water and use a mild soap to clean them. Allow the mats to air dry completely before placing them back in the vehicle.
Step 6: Clean the Windows and Mirrors
Using a glass cleaner and a clean microfiber towel, clean the interior side of the windows and mirrors. Spray the cleaner onto the towel and wipe the glass in a circular motion, followed by a vertical and horizontal motion to remove any streaks. Be sure to clean the windshield, side windows, rear window, and all interior mirrors. For hard-to-reach corners, wrap the towel around a squeegee or a plastic card to get into those tight spaces.
Step 7: Clean the Seatbelts
To clean the seatbelts, first, extend them fully and use a clip or clothespin to prevent them from retracting. Mix a solution of warm water and a small amount of mild soap. Dip a clean microfiber cloth into the solution and gently scrub the seatbelt fabric, paying special attention to any stained areas. Use a damp cloth to remove any soap residue and allow the seatbelts to air dry before retracting them.
Step 8: Address Any Remaining Details
Now that the main areas of your Tesla’s interior are clean, take the time to address any small details that may still need attention. This can include wiping down the steering wheel, gear shifter, turn signal and wiper stalks, and cup holders. Use a soft-bristle brush or a microfiber cloth with all-purpose cleaner as needed.
Step 9: Freshen the Air
To give your Tesla’s interior a pleasant and inviting scent, consider using an air freshener or a natural alternative, such as essential oils. Be cautious not to use overpowering scents or products that could leave residue on the surfaces.
Step 10: Reassemble and Inspect Your Tesla’s Interior
Once everything is clean and dry, replace the floor mats and any other items you removed from the interior. Take a final look around to make sure you didn’t miss any spots and to admire your handiwork. Your Tesla’s interior should now look and feel fresh and inviting!
Conclusion:
There you have it – Electric Shine: Detailing Your Tesla Interior! With a little time, effort, and the right tools, you can maintain your Tesla’s interior and keep it looking and feeling as luxurious as the day you bought it. Remember, a well-maintained interior not only provides a more enjoyable driving experience but also helps preserve your Tesla’s resale value. So, grab your detailing supplies, and let’s give your Tesla the electric shine it deserves!