Introduction:
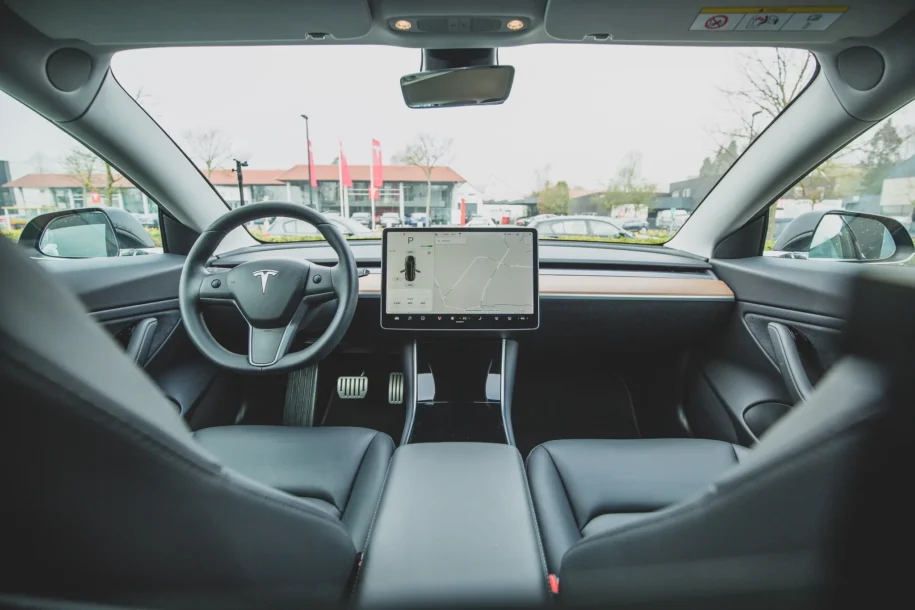
As a Tesla owner, you’re already enjoying the many benefits of an electric vehicle. But with those benefits comes the responsibility of keeping your car in top condition, both inside and out. While regular cleaning is essential, sometimes your Tesla may require a deep clean, especially in cases of spills, accidents, or unpleasant odors. In this comprehensive guide, we’ll discuss the steps to deep clean your Tesla, ensuring it’s spotless and fresh, just like the day you drove it off the lot.
Step 1: Remove Personal Items and Debris
Begin by removing all personal items from your Tesla, including items in the glove box, center console, and door pockets. Don’t forget to check under the seats and in the trunk for any hidden debris or forgotten items. Removing these items will make the deep cleaning process easier and more efficient.
Step 2: Vacuum the Interior
Use a high-powered vacuum cleaner with a brush attachment to thoroughly vacuum the interior of your Tesla. Pay special attention to the seats, carpets, and floor mats, as these areas tend to accumulate the most dirt and debris. Use the brush attachment to loosen any embedded dirt or pet hair. Remember to vacuum the trunk area and under the seats, as these spots are often overlooked during regular cleaning.
Step 3: Clean and Condition the Upholstery
Depending on your Tesla’s interior, you’ll need to use either a fabric or leather cleaner to clean and condition the upholstery. Follow the manufacturer’s instructions on the cleaning product to ensure you’re using it correctly. Use a soft-bristle brush or microfiber cloth to gently work the cleaner into the material, focusing on any stained or soiled areas. If your Tesla has leather upholstery, follow up with a leather conditioner to keep the material supple and protected.
Step 4: Deep Clean the Carpets and Floor Mats
To deep clean your Tesla’s carpets and floor mats, you’ll need a carpet cleaner specifically designed for automotive use. Apply the cleaner according to the manufacturer’s instructions and use a stiff-bristle brush to work the product into the fibers. Allow the cleaner to sit for the recommended time before vacuuming or extracting the solution from the carpet. This process will help to remove embedded dirt and stains, leaving your carpets looking and smelling fresh.

Step 5: Wipe Down Hard Surfaces
Using a gentle all-purpose cleaner and a microfiber cloth, wipe down all hard surfaces in your Tesla, including the dashboard, center console, door panels, and cup holders. Be sure to avoid using any abrasive materials or harsh chemicals that could damage the surfaces. For hard-to-reach areas, use a soft-bristle brush or a cotton swab to remove dirt and debris.
Step 6: Clean the Air Vents
Air vents can accumulate dust and debris over time, which can affect the air quality inside your Tesla. Use a soft-bristle brush or a can of compressed air to remove any dirt and dust from the vents. Be sure to adjust the vent direction while cleaning to ensure you reach all areas.
Step 7: Tackle Tough Odors
If your Tesla has any lingering unpleasant odors, it’s time to tackle them head-on. First, try using an odor neutralizing spray designed for automotive use. Be sure to follow the manufacturer’s instructions for proper application. If the odor persists, consider using a steam cleaner or an ozone generator to eliminate the smell. Keep in mind that using an ozone generator should be a last resort, as it can be harmful if not used correctly.
Step 8: Clean the Windows and Mirrors
Using a glass cleaner and a clean microfiber cloth, clean the interior side of the windows, windshield, and mirrors. Spray the cleaner onto the cloth and
wipe in a circular motion, ensuring you cover the entire surface. To avoid streaks, follow up with a second clean microfiber cloth to buff and polish the glass to a crystal-clear finish.
Step 9: Detail the Exterior
Now that your Tesla’s interior is sparkling clean, it’s time to focus on the exterior. Start by giving your vehicle a thorough wash using a gentle automotive soap and a soft sponge or wash mitt. Be sure to rinse off any soap residue with clean water. After washing, use a clay bar to remove any embedded contaminants from the paint surface. Follow up with a high-quality polish and wax to protect your Tesla’s paint and give it a brilliant shine.
Step 10: Clean and Protect Wheels and Tires
Finish your deep cleaning by addressing your Tesla’s wheels and tires. Use a wheel cleaner specifically designed for your wheel type (aluminum, chrome, etc.) to remove brake dust, road grime, and other debris. Be sure to use a soft-bristle brush to gently scrub the surface and reach into tight spots. Rinse the wheels thoroughly with clean water. For the tires, use a tire cleaner and brush to scrub away dirt and grime. Once clean, apply a tire dressing to protect the rubber and give your tires a like-new appearance.
Conclusion:
By following these steps, you can effectively deep clean your Tesla and ensure it remains in excellent condition both inside and out. A well-maintained Tesla not only looks great, but it also helps to protect your investment and maintain its resale value. So take the time to give your Tesla the deep clean it deserves, and enjoy the satisfaction of driving a pristine electric vehicle.
